The time has come for you to transplant your orchid and you want to know how to do it right. We all know that orchids can be temperamental, so it makes perfect sense as to why you would take every measure to care for them the best you can. That being said, repotting orchids does not have to be a tricky process. By the end of this guide you will confidently know how to repot an orchid and you can go back to caring for it just as before.
This step-by-step guide will walk you through preparing your new medium, container, addressing roots, minimizing decay, and making your orchid feel at home in it’s new pot.
1. Be absolutely sure your orchid needs to be repotted
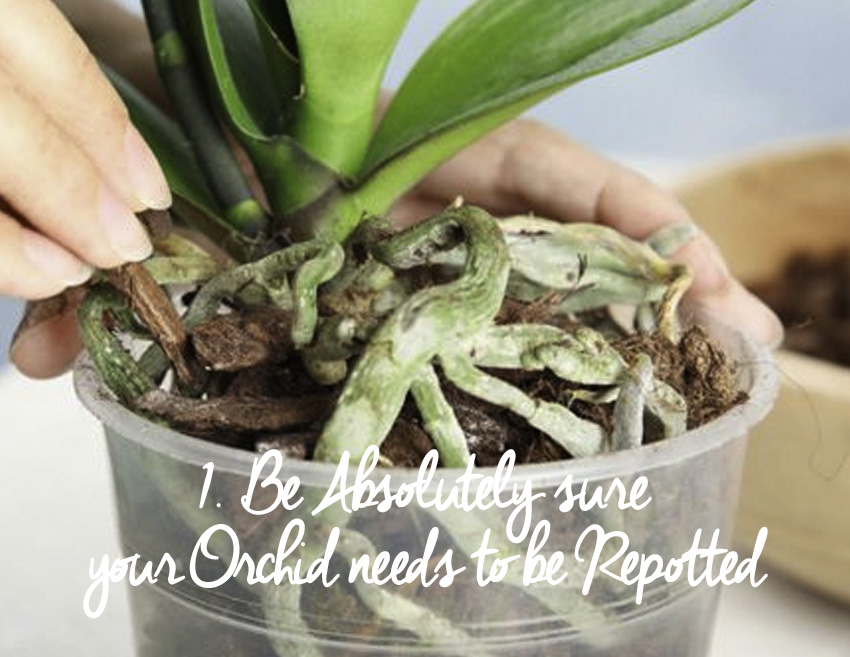
Moving into a new home can be a difficult experience for your orchid and it will likely require some time to adjust or recover. When repotting orchids, it would behoove you to make sure you are repotting the orchid because it needs it and not just because you want it.
One sure way of knowing that your orchid is ready for a larger space is seeing aerial roots, or air roots. Once the white roots are escaping the pot, it means that there is not enough air, moisture, or nutrients inside the pot for the plant to continue growing and it is moving on up to find what it needs. Epiphyte orchids can use their roots to grab nutrients from the air, but it is less than ideal.
Another sure time to repot your orchid is if it is showing signs of root rot. If you see any yellow, brown, mushy, or dried roots, then it is time to give your orchid some TLC. Orchid roots should be a nice, healthy green color. If you are seeing discoloration, then it is time to trim the damaged roots and repot.
Sometimes the size of the container is still OK, but perhaps your medium has started to deteriorate or compress and nutrients are not reaching the plant as they once did. In this case, repotting your orchid with a fresh medium is necessary.
2. The best time for repotting orchids
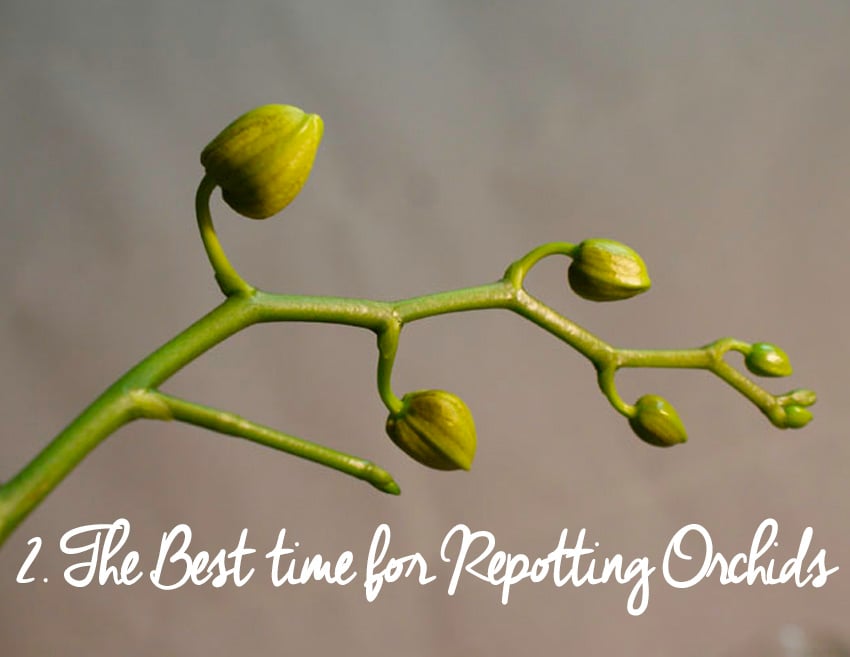
Now that we know your orchid needs to be repotted, you need to make sure you are doing it at the right time.
Shortly after your orchid has bloomed it starts to send out new shoots, leaves and roots — your orchid is in active growth. This is the best time to repot an orchid as it will be most successful at settling in to its new medium.
Some orchids, such as Dendrobiums, require the active growth phase to be repotted while others, such as Phalaenopsis, are less delicate and can be repotted practically any time they are not in bloom. It is always best to research what is best for your particular orchid.
3. Choosing between orchid bark and sphagnum moss

Ok, so we’ve determined that your orchid needs to be repotted and we’ve figured out the right time to do it. Next, before we start repotting orchids, we will be figuring out which medium to use in your new container.
Orchid Bark, like from a Douglas fir, has a perfect pH for orchids, making it an ideal potting medium. Bark allows for oxygenation and water drainage so that the orchid’s roots have constant access to both elements. These conditions mimic an orchid’s natural environment and help it grow to its full potential.
Sphagnum Moss can absorb up to 18 times its weight in water, making it far superior at keeping your orchids hydrated. If you live in a dry, low humidity environment, or if you are planting terrestrial orchids, then using Sphagnum Moss may be the right choice.
Often times, combining bark, moss, and other mediums is the best solution. Orchid Potting Mixes that are pre-blended are also available.
There are other possible potting mediums, including: Coconut Husk, Lava Rock, Charcoal, and inorganic materials like perlite, leca, and seramis, but we will get into that another time.
4. Preparing your orchid potting medium
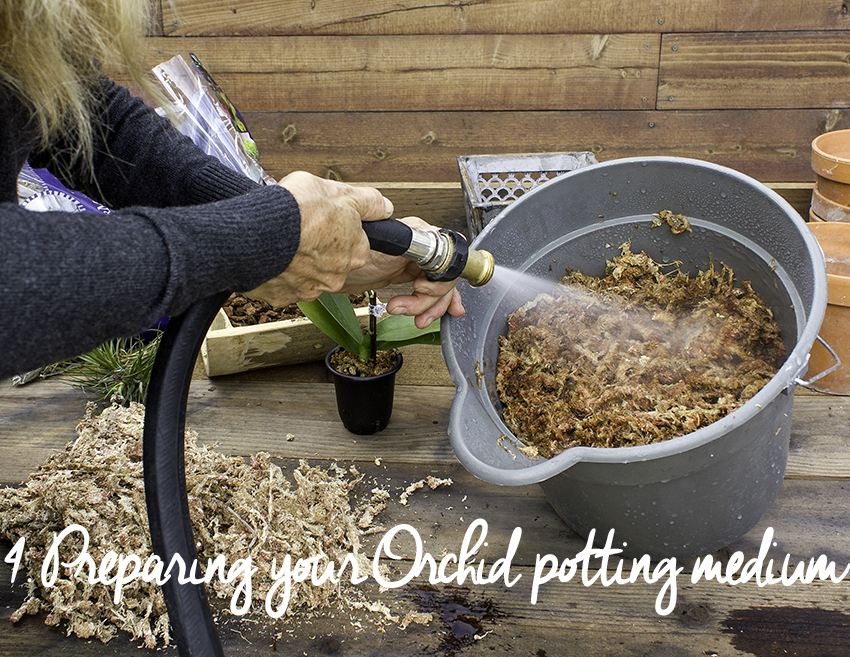
For this example, we chose to work with Sphagnum Moss. Place the moss, or the medium of your choice, in a bucket, lightly water it, mix it up, and set it aside.
Since orchids are prone to disease, many gardeners choose to first sterilize the potting medium by boiling it. Of course, be sure to let the boiling water reach room temperature and drain it before bringing it contact with the plant.
5. Add a layer of medium to your container

Place a layer of damp moss or orchid fir bark in the bottom of the new container. This will make sure that your orchid has room for growth in all directions.
6. Carefully remove the orchid from it’s old pot and prepare roots

Gently grasp as far down into the base of the orchid as you can and loosen the roots out until the plant is removed. Sometimes squeezing the pot lightly can help ease the roots and aid in their being released. Using a chopstick could prove helpful if you feel it is necessary.
Be very careful not to break any of the roots during this process.
Once the orchid is removed, delicately release old moss and bark from around its roots. As we mentioned earlier, old mediums deteriorate or compress, becoming unsuitable for further growth.
7. Trim off decay and repack the roots

While your orchid is out of the pot and free of any medium, it is time to check for decay. Should you see any dead or rotten roots, use clean scissors to clip them off. Again, be very careful to not clip away any healthy roots — repotting orchids does not need to be a traumatic experience!
Once only healthy roots are left, repack them with your damp moss, orchid bark, or mix. This is an important step as just placing the orchid in the new pot and covering the roots with a medium will leave the roots all mangled and compressed together. The whole point of repotting was to give your orchid the space it needs, right? This will allow for more air, moisture, and nutrients to be absorbed evenly.
8. Place orchid in its new pot and decorate
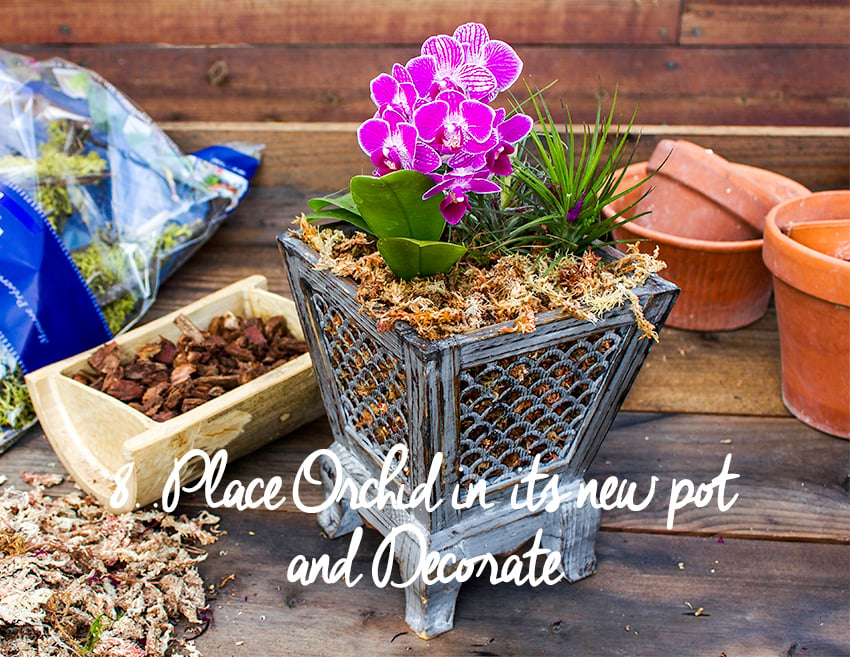
The moment we have all been waiting for! Place your orchid into the new container, being mindful not to let the medium fall from the roots. Carefully add more of your medium to the sides to keep your orchid comfy.
If your orchid could use extra support, consider using a Moss Stake to give it the strength it needs.
Next, you can add Top Dressings or decorations to your orchid — think of it as housewarming gift! Sheet Moss is our most popular top-dressing, but Feather Moss, with its unique texture and shape is quickly trending. Our Orchid Potting Kits make it easy to get everything you need in one place. What kind of décor do you use to dress up your orchid?
That’s it, you are all done! Please let us know if you have any questions about this process. Feel free to leave us a comment and we will be happy to work with you.
Also, after your orchid is repotted, send us a picture and we may put you in the spotlight. Happy gardening!
Hello, I have just read your article and replies and found them very interesting.
I received an orchid as a present two year’s ago, it was beautiful with twin stems and full of flowers. Now it is looking neglected. The stems are bent and flowers falling forward. I know it is my fault as I repotted it last year with ordinary compost. I will Waite until the flowers have died and follow your instructions but I have now received another orchid, again two flowering stems. What I would like to do is repot the two plus another one in a wider pot. Would this be okay, or should orchids be kept separately.
Thank you, I live on Menorca and we always have humidity
Hello, I recommend this excellent resource for more specific orchid care questions. https://orchidresourcecenter.com/the-ultimate-guide-to-orchids-and-orchid-care/