How to Repot Your Orchids
Curious about the best steps to take when repotting your orchids? Or how to maintain a perfect environment for your plant in the winter? Well, you are in the right place!
Step 1: Add SuperMoss Orchid Bark to the vase of your choice! When looking for a new vessel for your orchid, try to find on that’s approximately 1 to 2 inches wider in diameter than the previous one.
About our SuperMoss Orchid Bark: Our orchid bar is made from natural Douglas-fir tree bark. Its pH makes it an ideal potting medium for orchids. It allows for great oxygenation and drainage of water so that the orchid’s roots have constant access to both water and oxygen. This mimics an orchid’s natural environment and helps them grow to their full potential.

Step 2: Remove orchid from its nursery pot. Loosen up the roots, rinsing off any old soil. Trim off rotted roots and older flower stakes, before adding your orchid to its new home.

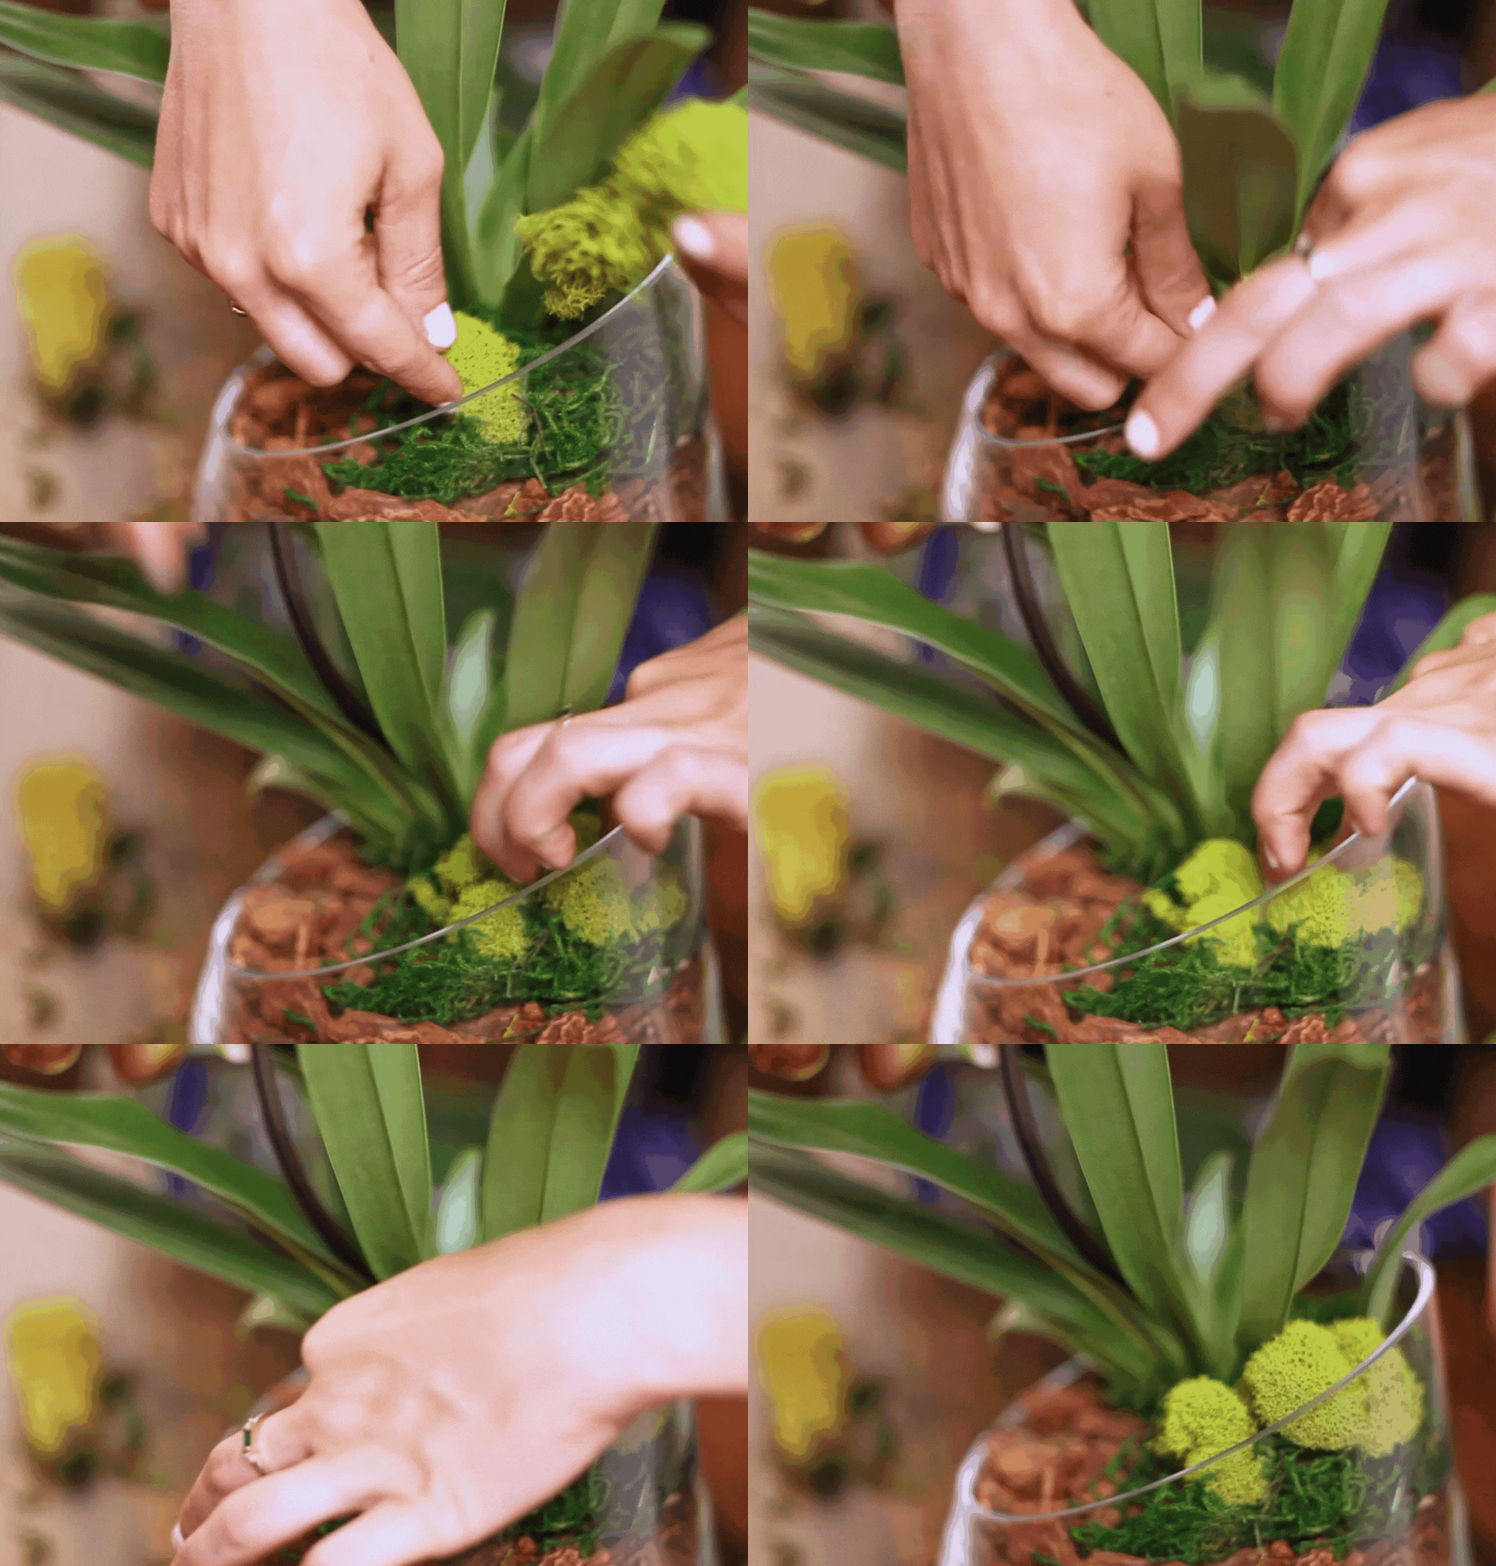
Step 3: Add some decorative moss! For this repot, we used our SuperMoss Fairy Garden Moss mix!
This mix includes:

Step 4: Use Moss Stakes to secure your orchid stems. Our Moss Stakes are made from long-lasting preserved moss with a wooden dowel core! They have a durable, non-bendable plant support, perfect for something like orchids! After placing the stakes, we used our Natural Raffia to tie the orchid stem to the stake.

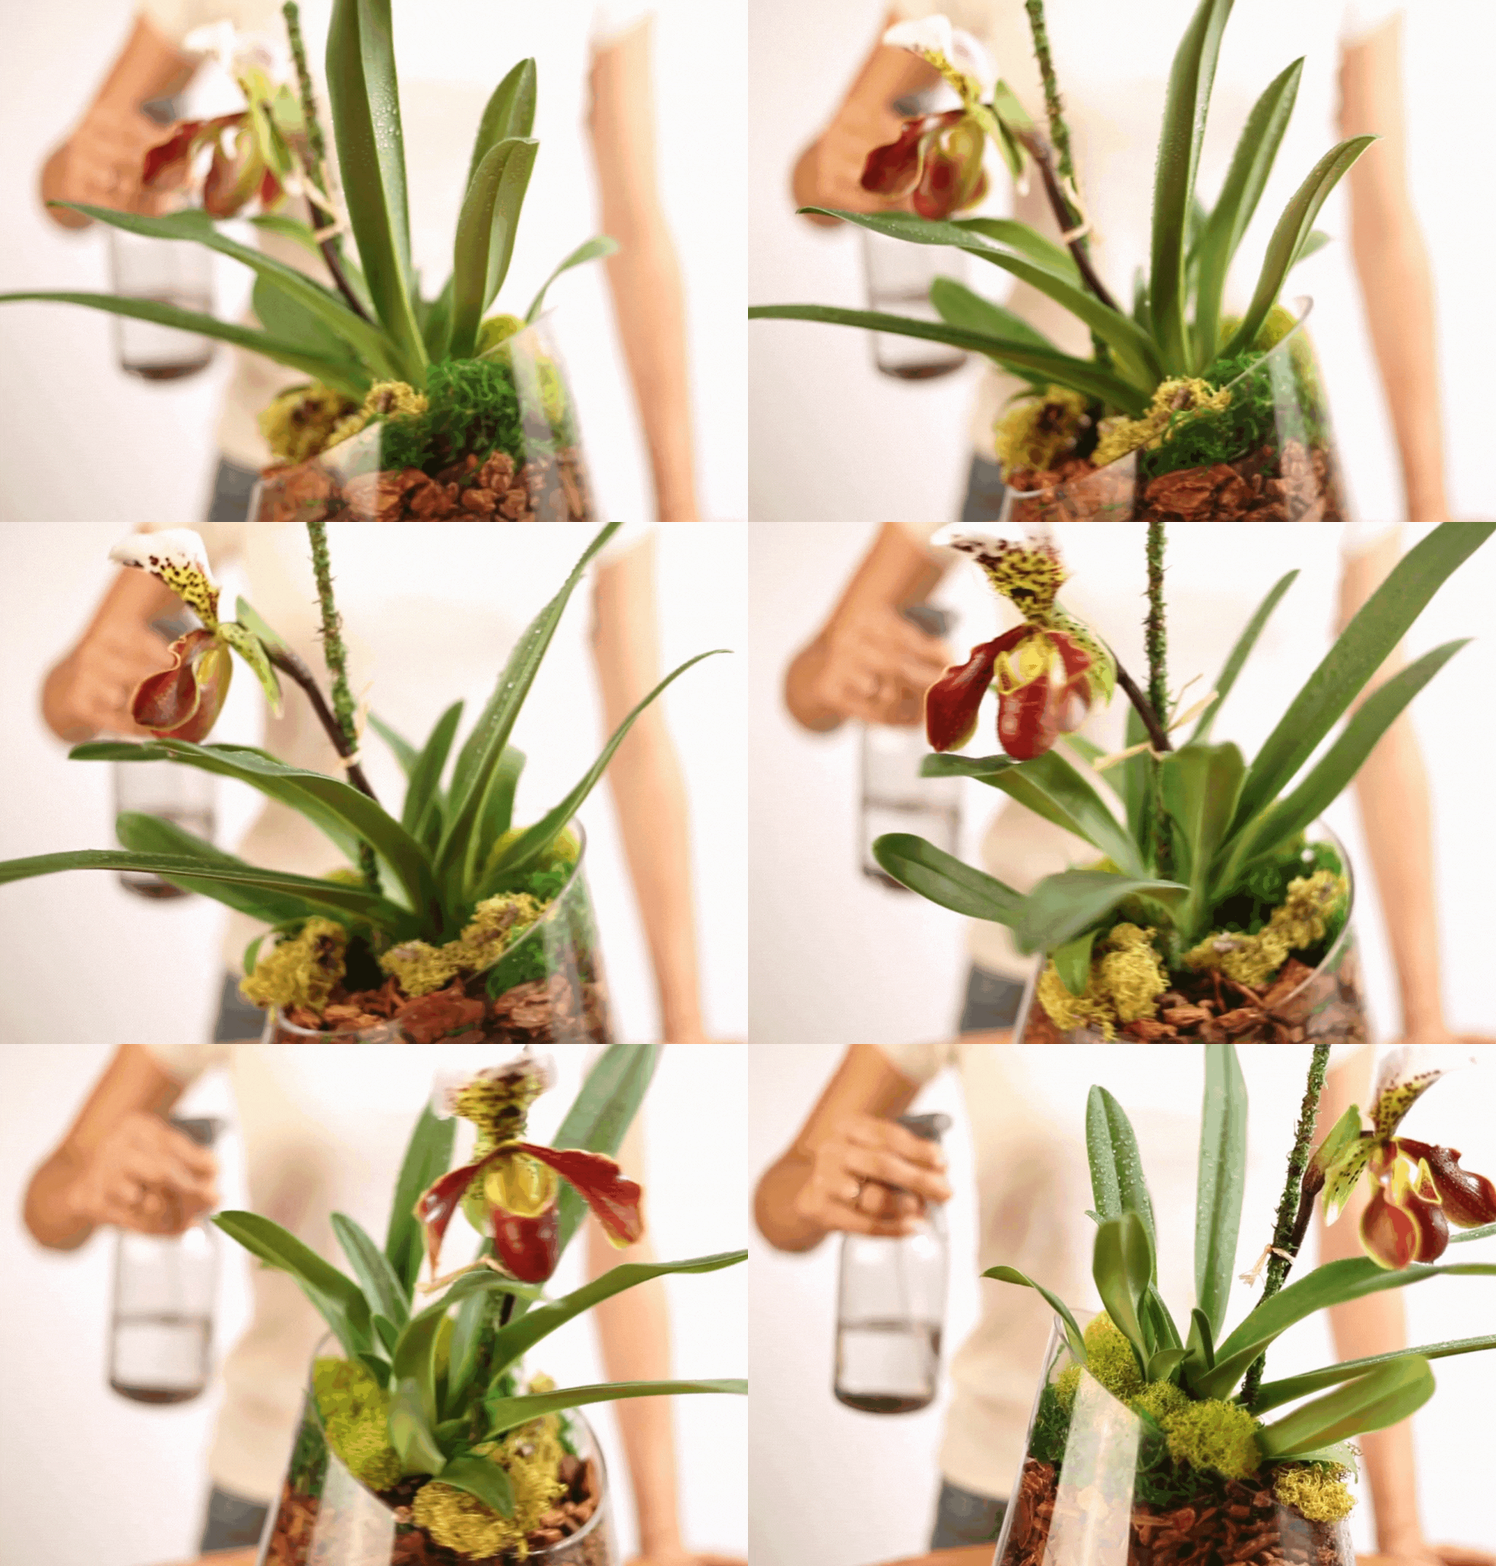
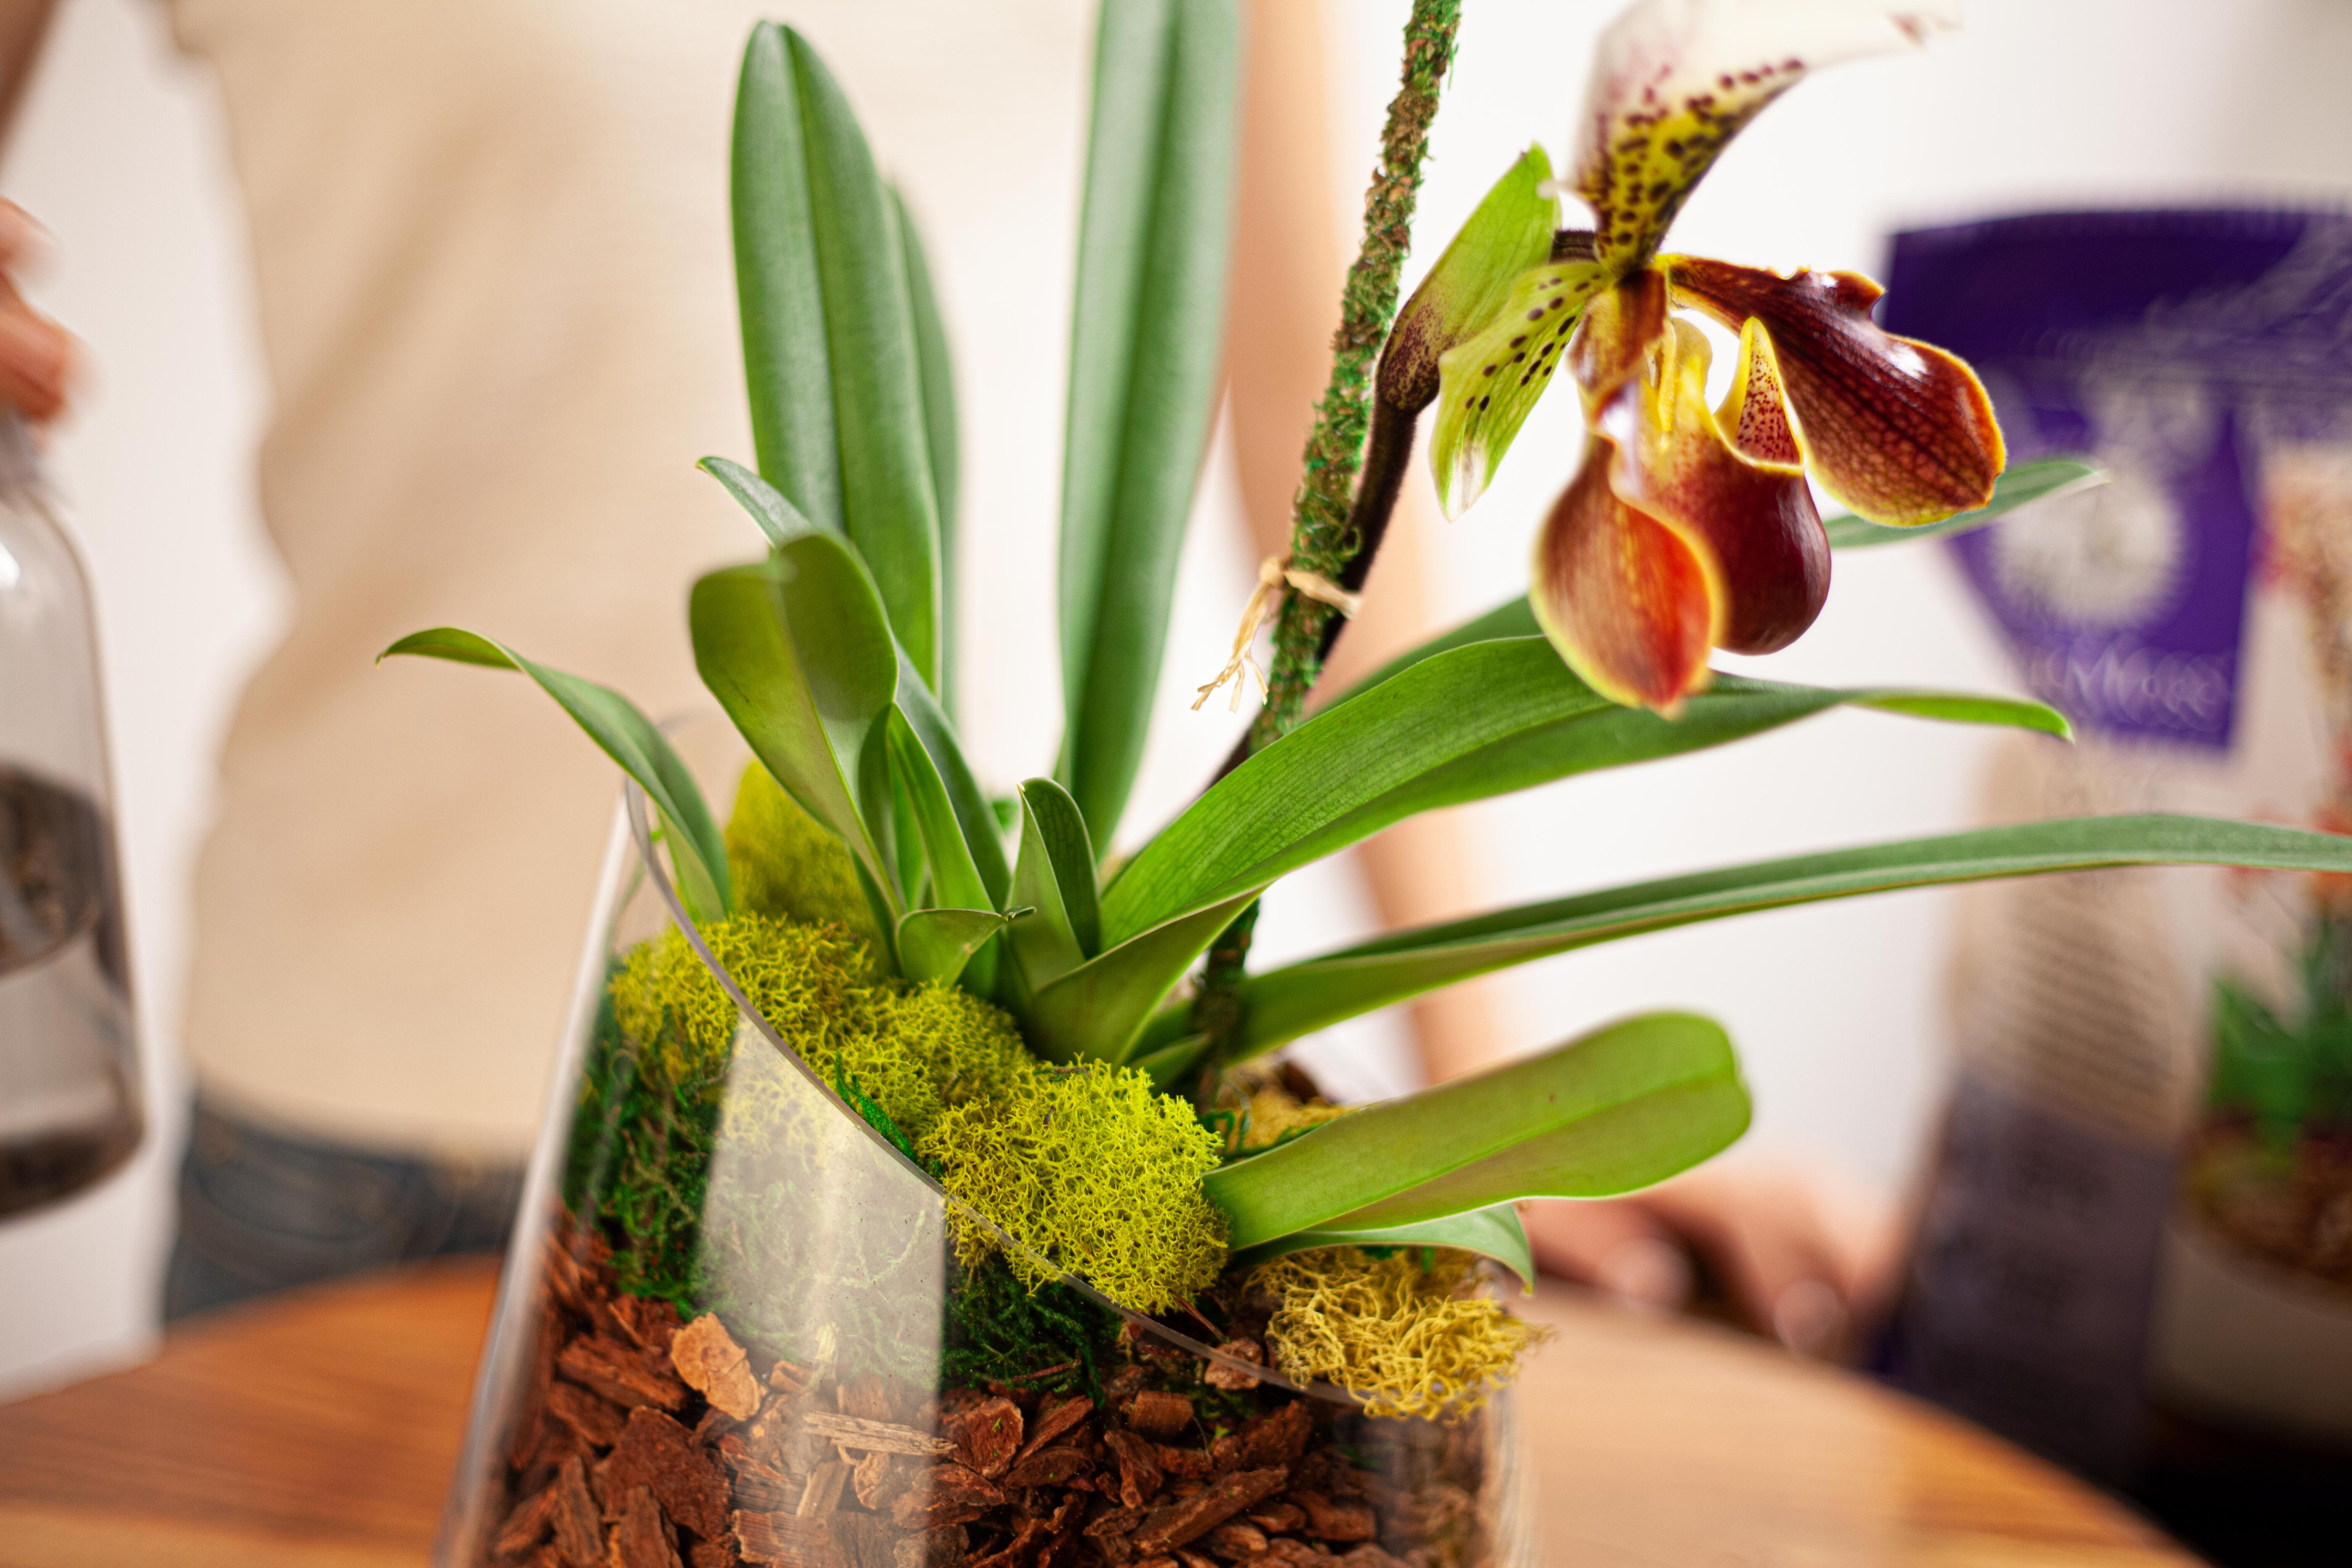
Step 5: Spray down your orchid to boost posture and humidity! Make sure to get those orchid chips nice and moist. After you water thoroughly wait a full week or two before watering again. Trust us, we get it. The act of watering your plants feels good, like your tending to your plant baby, BUT – orchids need a good break to stimulate root growth in the new medium and prevent root rot from over watering!

Pro Tip Time!
This weeks pro tips are all about best practices to care for your orchids as the colder, winter months approach!
Give your Orchid Enough Light: Try moving it to the sunniest room in your home or the room with the most windows.
Watch for Drafts: Try to keep your orchid away from drafts. Close a nearby window on a windy day, move your orchid away from vents, and relocate your space heaters.
Adjust your Watering Routine and Check Your Orchid’s Roots: Check to see if your orchid roots are dry and gray/brown. When your roots turn green and plump, you’ll know your plant is healthy.
Increase the Humidity: You can increase the humidity around your orchid by making a humidity tray. You can put a humidifier in the room, or mist your plant with water from a spray bottle.
Things to look out for:
- Yellowed leaves mean your plant hasn’t received enough indirect natural light.
- Black spots on leaves mean has received too much direct sunlight, move it to a shadier spot.
- A wilting orchid means the plant is stressed! Check your humidity levels, temperature, and amount of water you’re giving it!


