Moss walls have become increasingly popular in recent years. They are a great addition to almost any home, adding a touch of lush greenery to a once simple room. Moss Walls are also an example of biophilic design, which is the unique approach of connecting humans with nature within the built environment. Research suggests that elements of biophilic design have proven to reduce stress levels and boost productivity. So if you spend a lot time inside and would like to bring nature indoors, this is the project for you! Best of all- you can learn how to make your own moss wall in just a few short steps!
SuperMoss has got you covered with (almost) all the materials you need. The rest can be found in your backyard!
[rev_slider alias=”diy-air-plant-holder-2-11″][/rev_slider]
Additional items you will need:
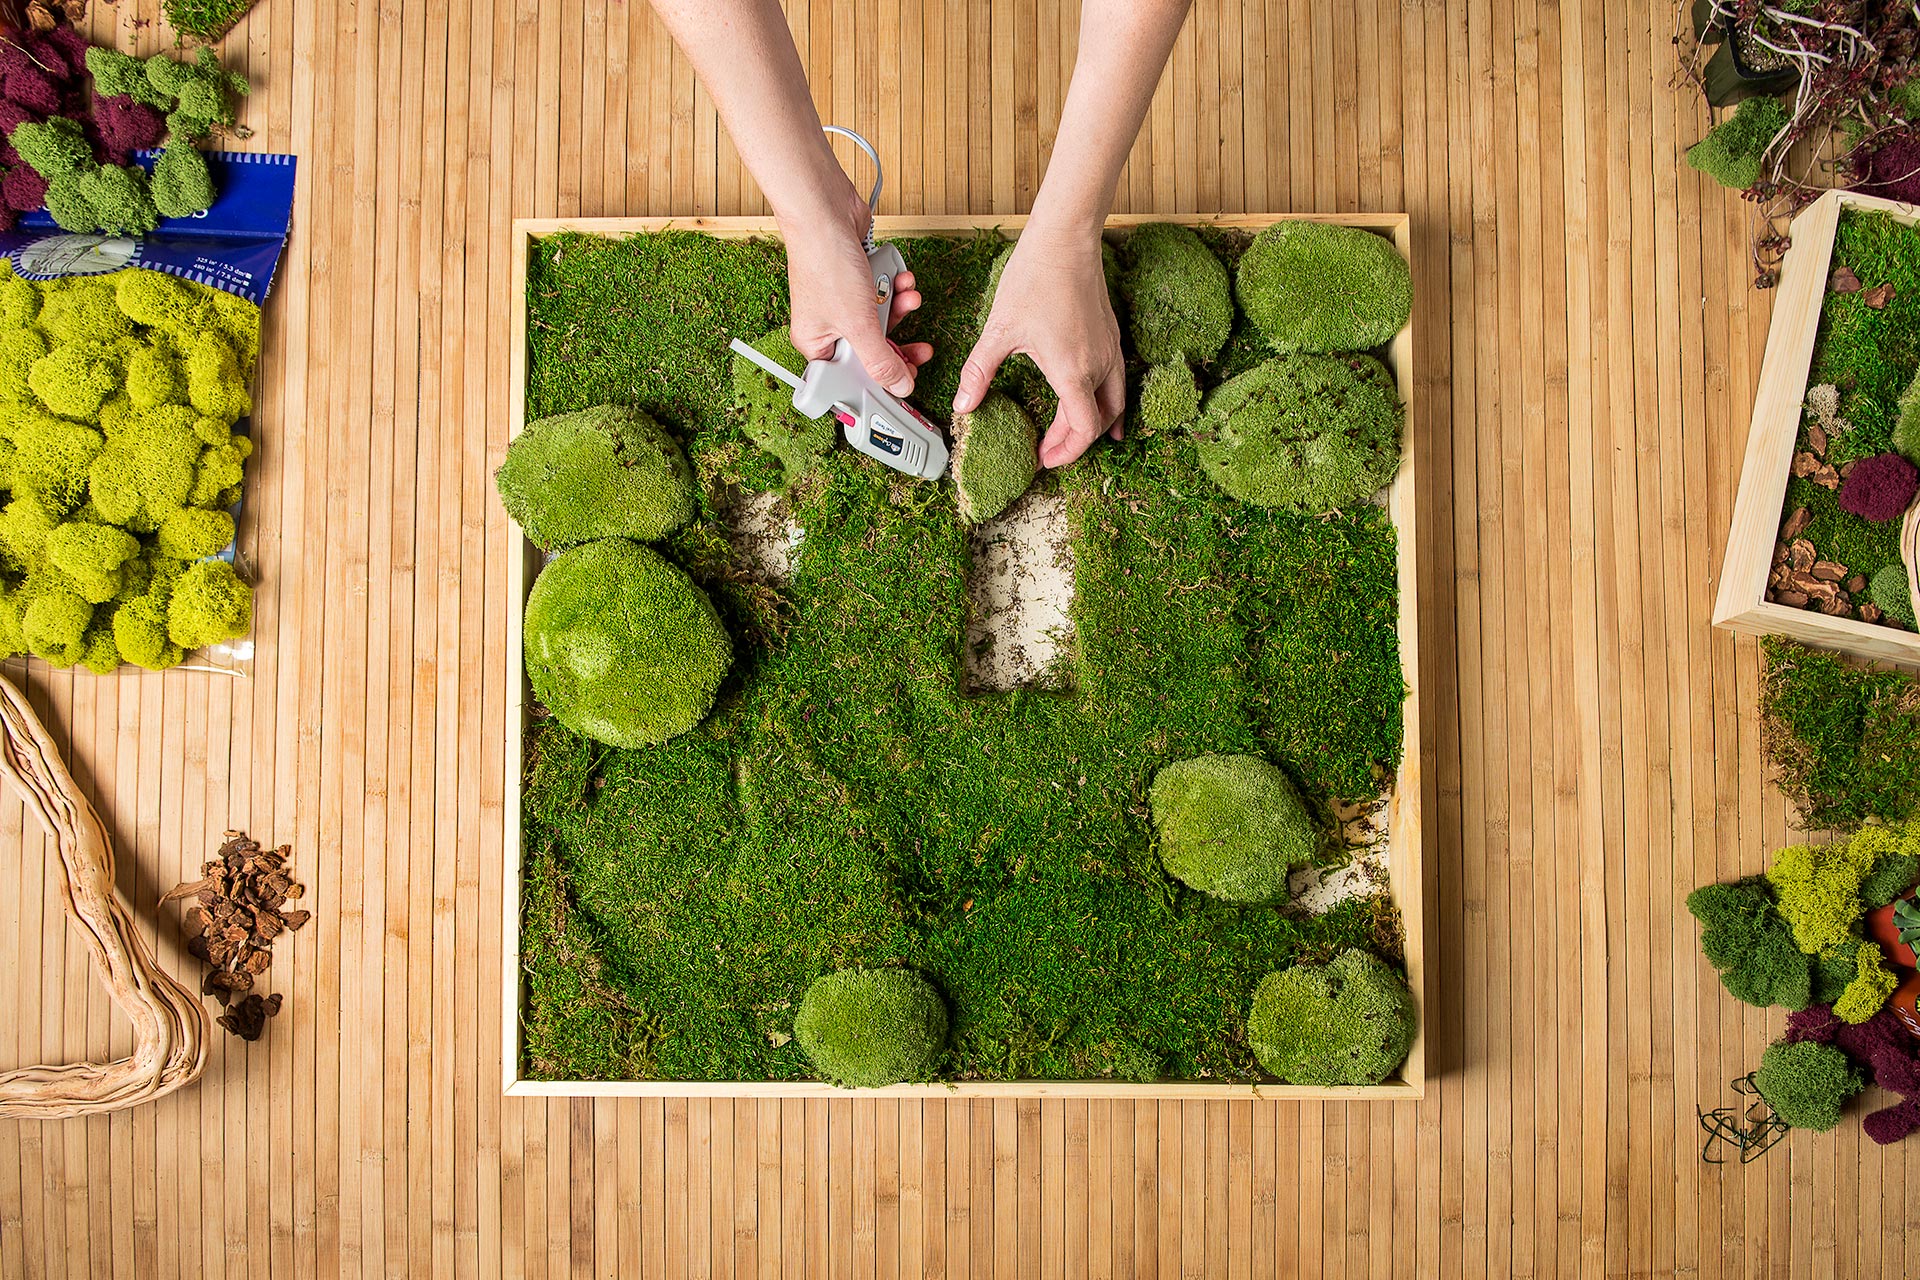
1. Superglue sheet moss to wood frame
Sheet moss is easy to work with! It comes in large flat sheets and can easily be cut to size with scissors.
For the frame, you can use any base wood you prefer. We just recommend using something sturdy, that will support your creation.

2. Secondly, assemble the Royal Pool Moss clumps
SuperMoss Royal Pool Moss adds a unique natural feature to your creation. Its lush features will nicely complement the base sheet moss.
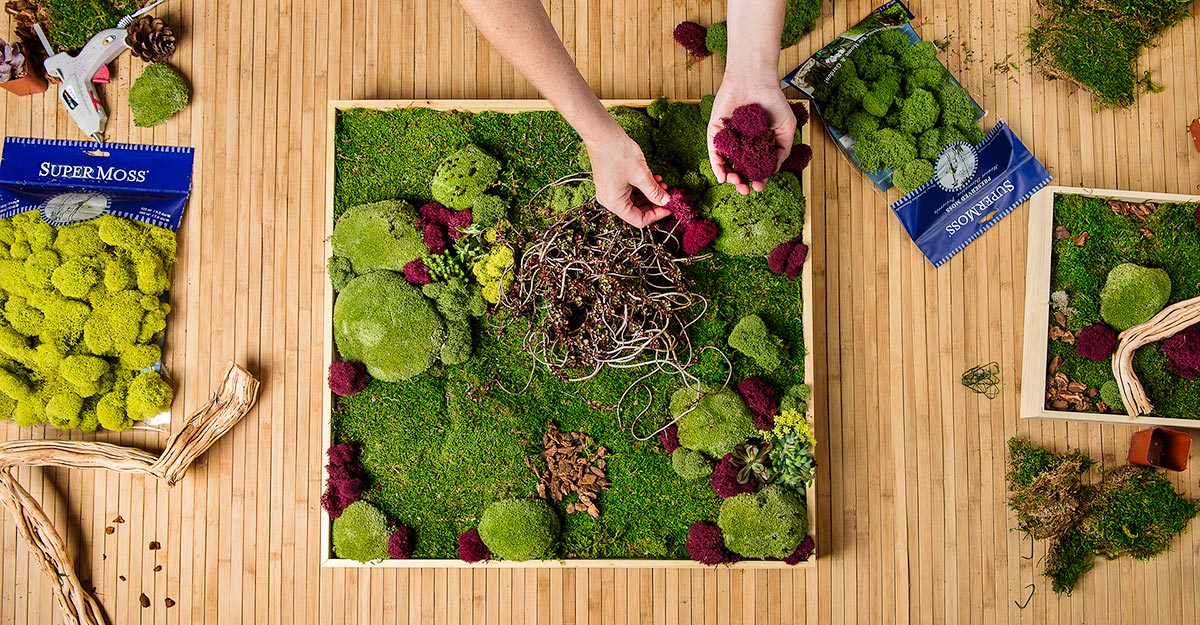
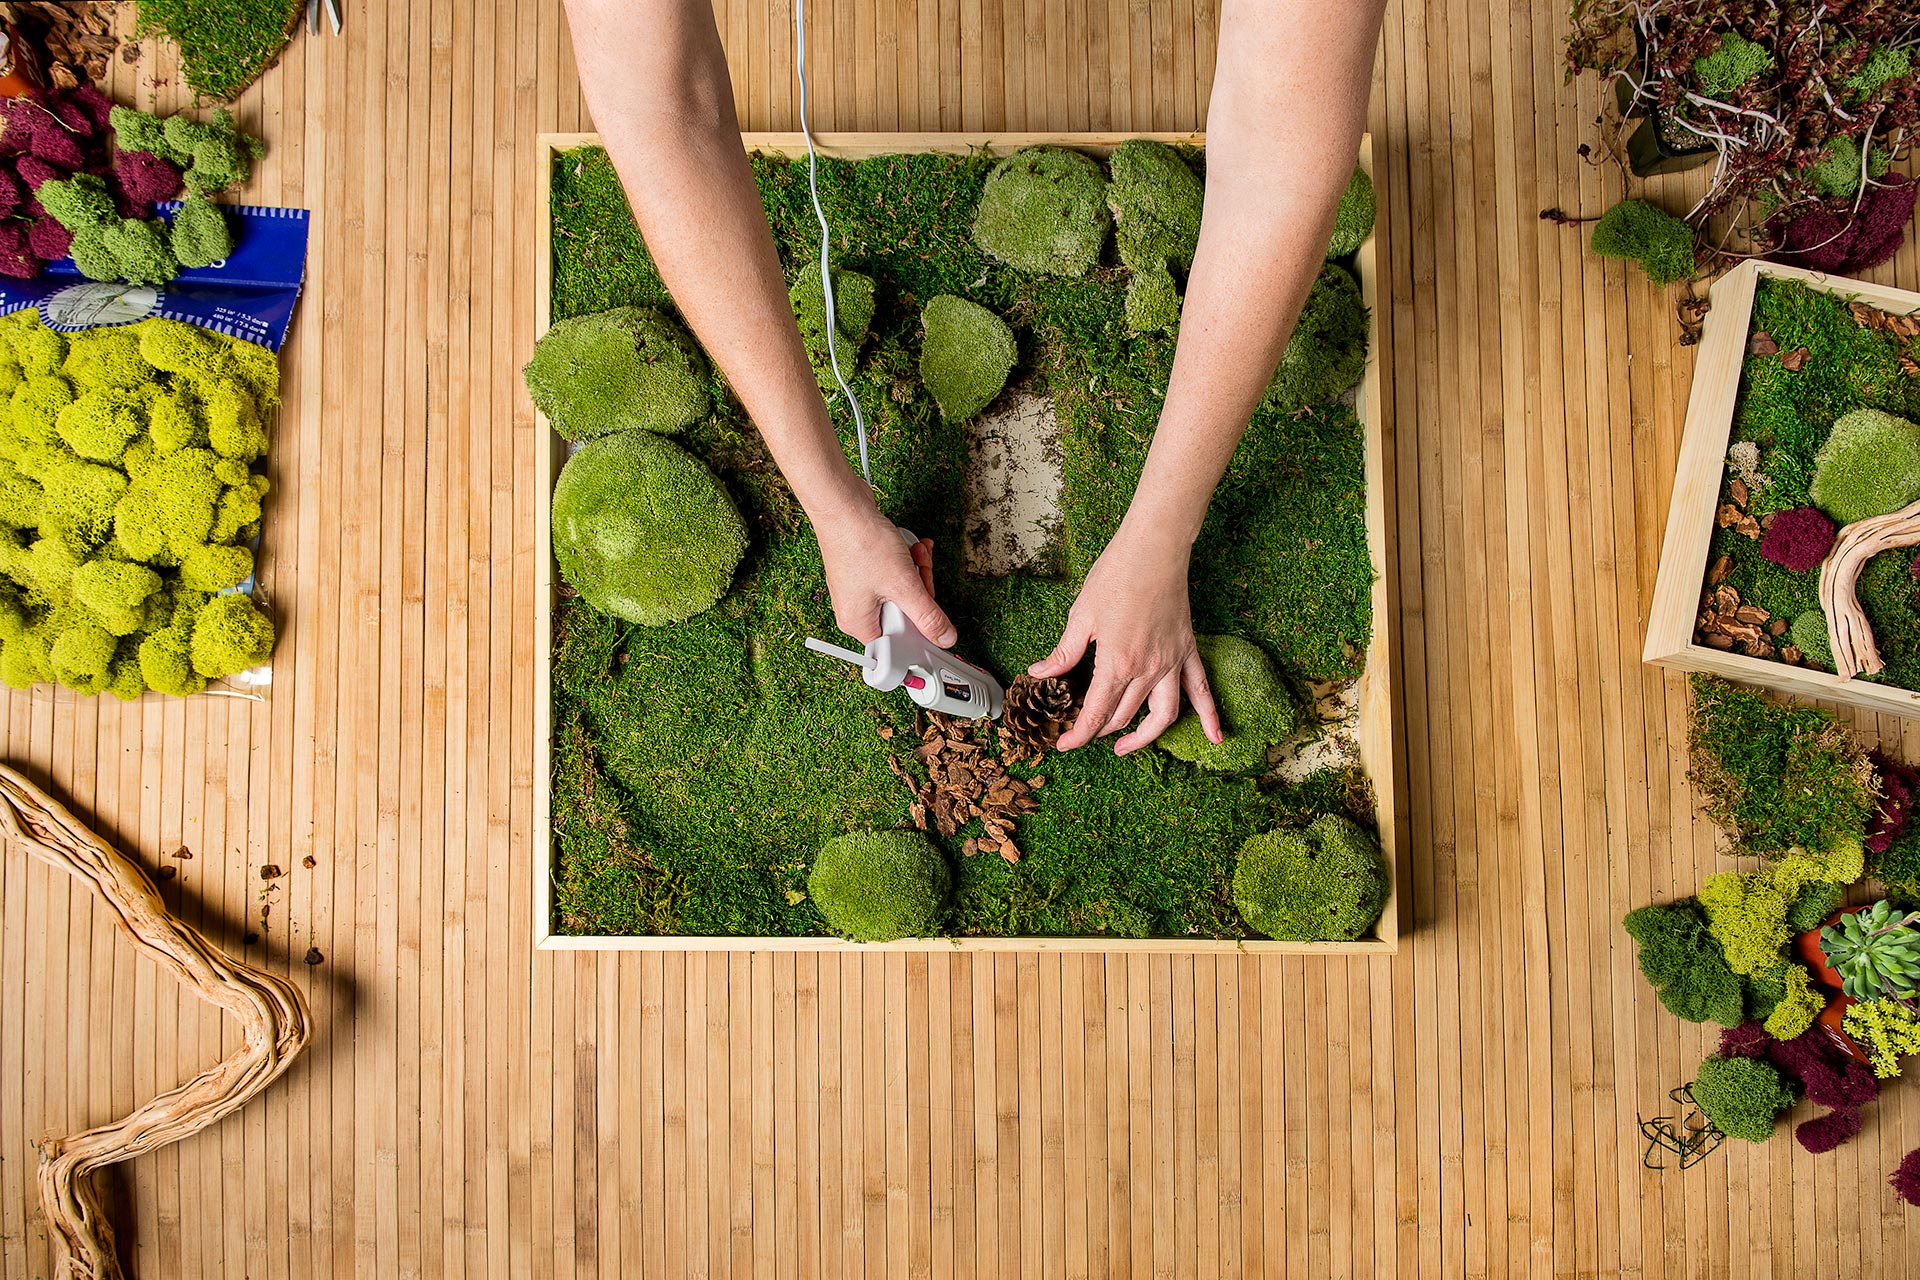
3. Attach various natural objects
This is where your creative mind comes into play! To us, the best moss walls are the ones that evoke a natural aura. We encourage you to step outside and collect an array of natural items, such as pinecones, stones, sticks, branches, or mulch.
4. Include a focal element
The focal element will be the first aspect you are drawn to! This could be a pattern of sea glass, resembling a flowing river or combination of colorful stones. In the photo below, you will see how we used a cluster of sticks arranged in an abstract manner.

5. Next, add a pop of color to your piece with SuperMoss Reindeer Moss
Reindeer Moss is the most commonly used tool in these types of creations, just ask the designers! It has a sponge-like texture, which is easily pliable. More importantly, this type of moss adds both texture and shape to the piece. We are also happy to share that SuperMoss offers it in over 25 unique colors. For instance, you will see how we added clusters of reindeer moss in our rust color to juxtapose the shades of green in the moss wall (see below).

6. Top your moss wall with a piece of driftwood!
Driftwood is not essential for a moss wall project, but in our opinion it makes for a more natural and organic look. See below how we placed the driftwood going across the frame.
If you are lucky enough to live near the ocean or a river, you can find unique pieces of driftwood along the shore! If not, you can purchase decorative woods here.

7. Voila, you are done!
It’s as simple as that! You can even create a panel of like moss art for larger walls, like the example below.
The possibilities are endless with moss wall art… we can’t wait to see what you come up with!

A Note about Moss Wall Care
You will be happy to find out that moss walls require little to no maintenance! SuperMoss moss products are all preserved, meaning they are no longer living. Just keep your moss wall out of direct sunlight to ensure it will stay looking fresh and green. Note that your moss will benefit if you can mist it from time to time, as this will keep humidity levels high.
In other words, you do not need to have a green thumb to keep your moss wall looking happy and healthy!
Check out are newest Youtube Video for further instruction!
Happy crafting!

Hi! I’m building a giant wall heart 10’ x 10’ which I’ll cover in moss for a community project with cancer patients in my expressive arts group. It is going to be displayed at CSUSM Palliative Care Symposium.
How much moss do I need and is there an opportunity for a wholesale/charity discount?
Thank you!
Hello Alessandra, please e-mail me at customerservice@supermoss.com and I will be happy to assist you with your project!
[…] © SuperMoss […]