Ready to add a personal touch to your flower bouquet? Whether you’re preparing a gift for someone special or just having fun with florals, wrapping your bouquet in a creative, unique way is the perfect finishing touch. You don’t need to be a professional florist to create a beautiful, Pinterest-worthy presentation—just a little creativity and some simple materials! This step-by-step guide will help you turn a bunch of blooms into an artful display, with tips on choosing the right paper, folding like a pro, and adding that extra flair. Let’s get started!
Items Needed:
- Moss Mat
- Moss Pick – Monarch
- Moss Pick – Heart
- A dozen flowers
- String
- Brown craft paper
- Colored tissue paper
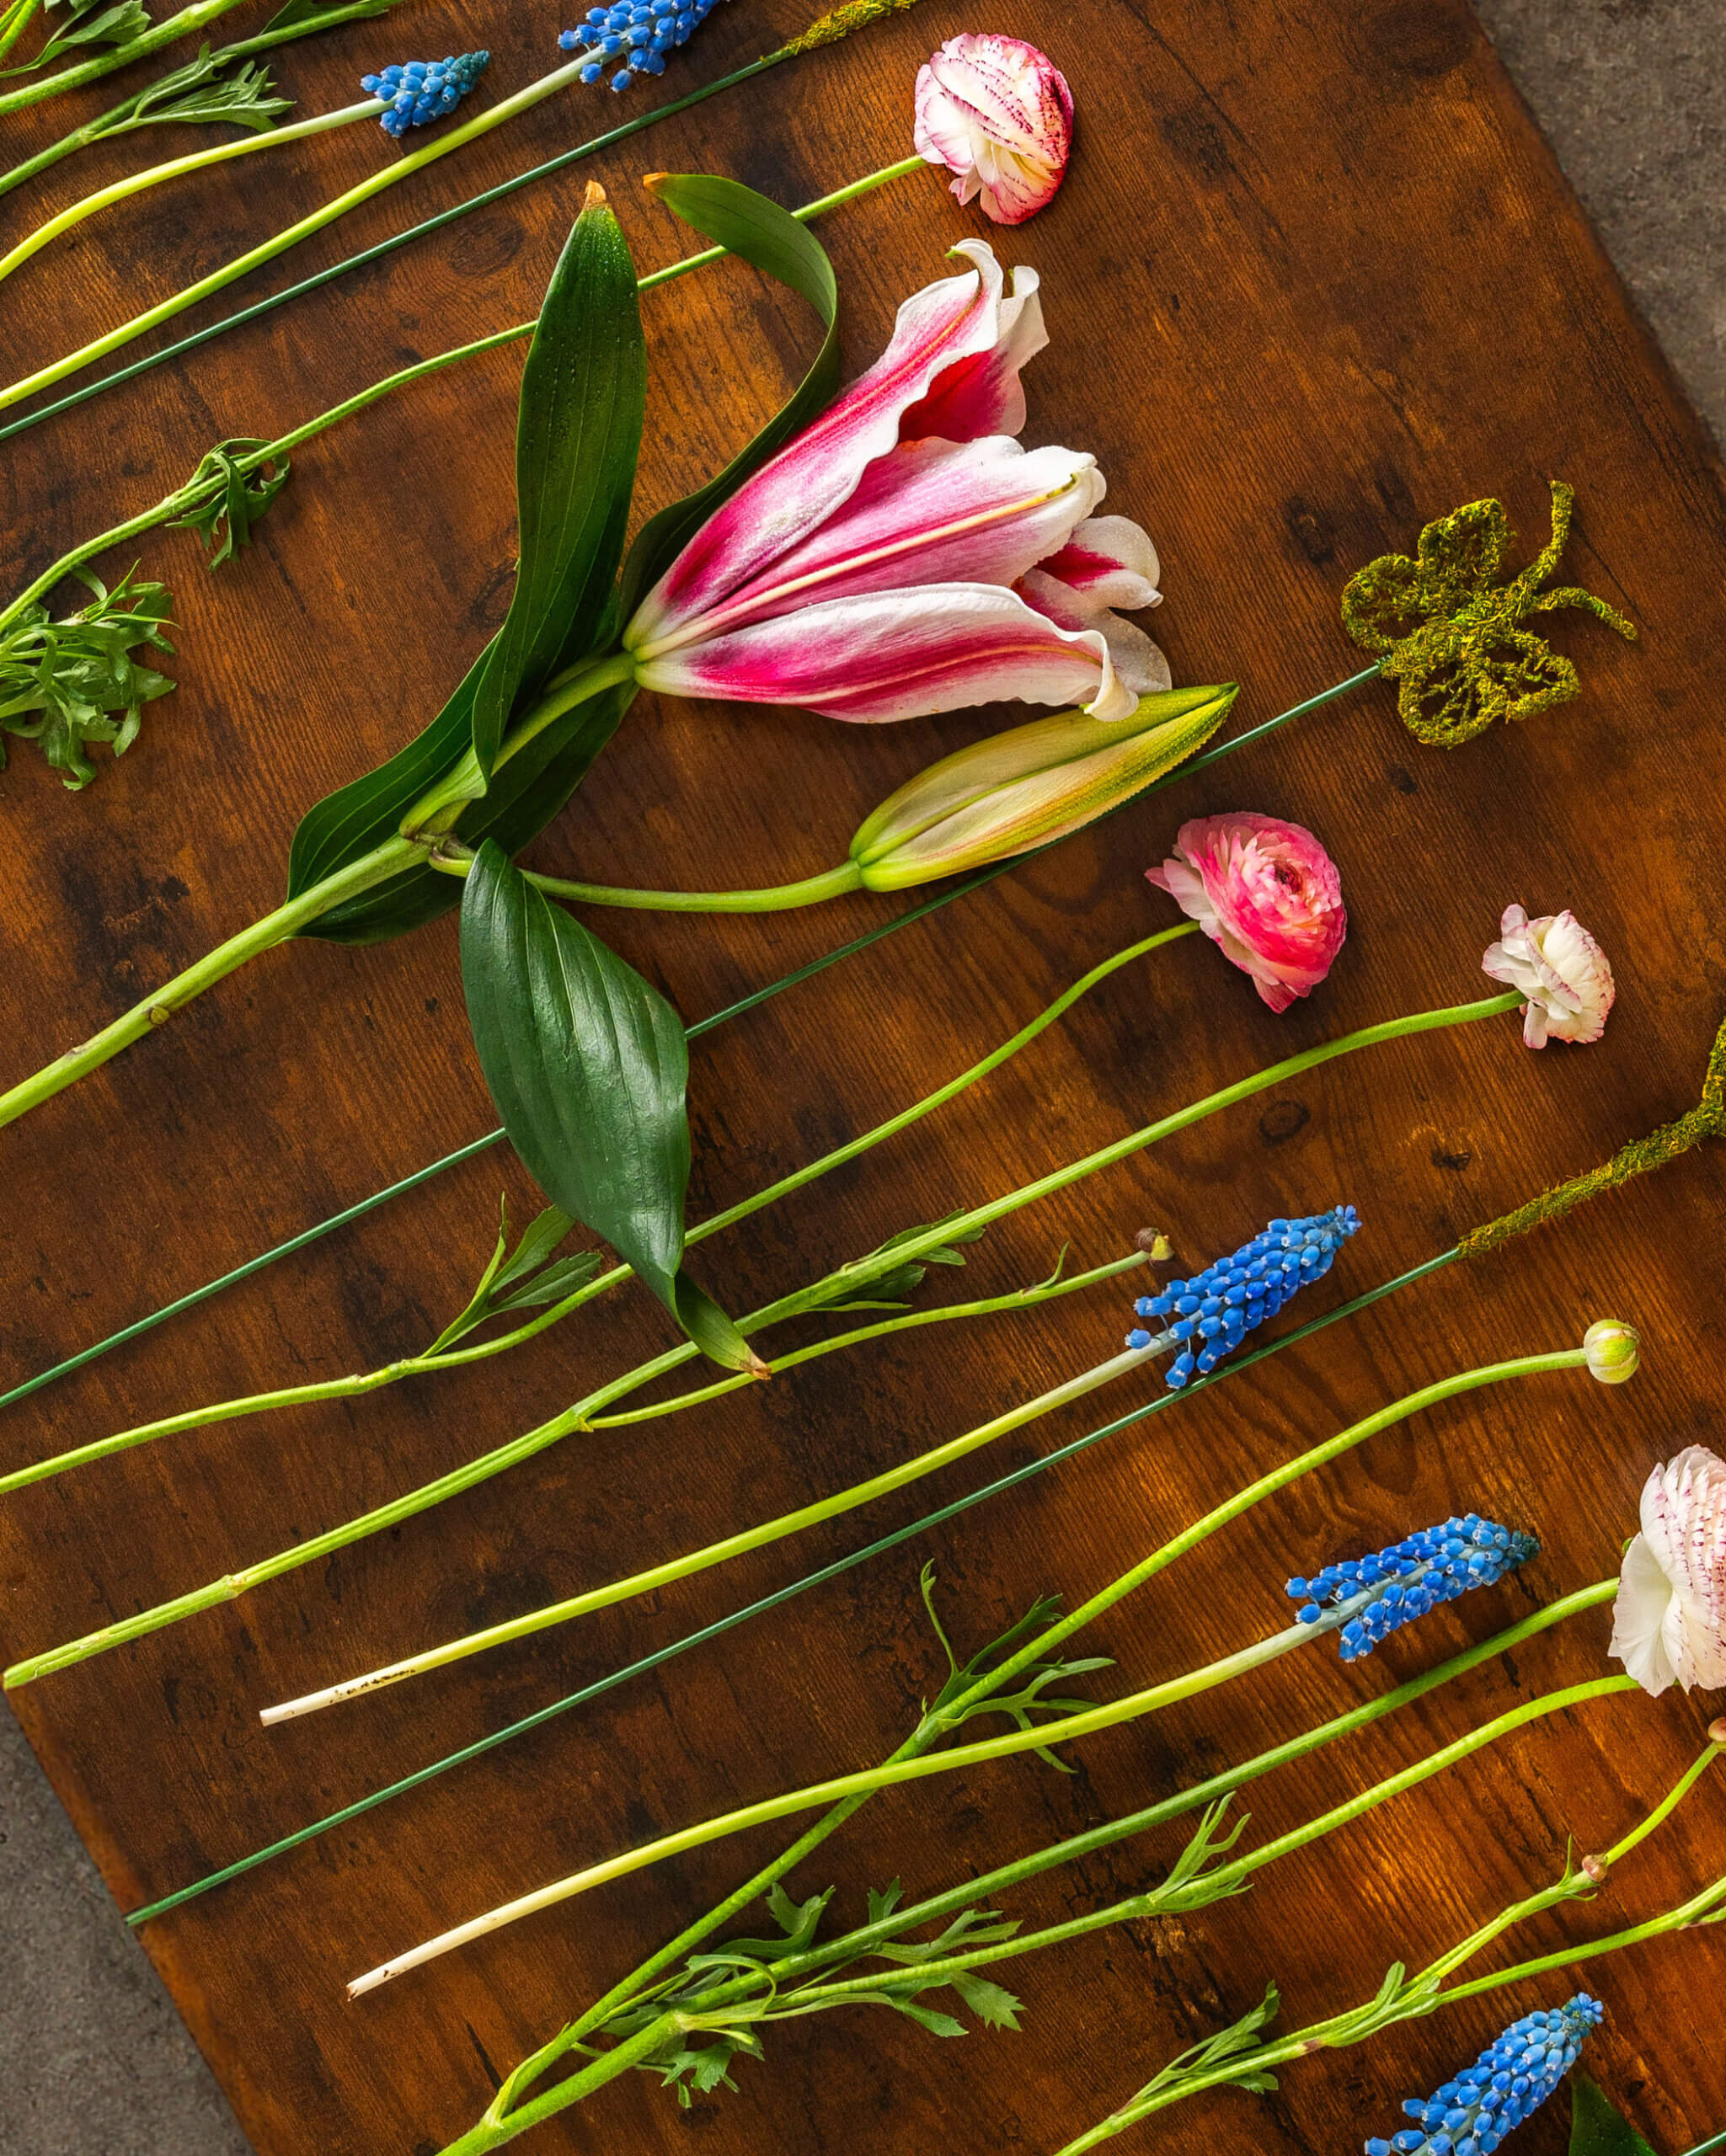
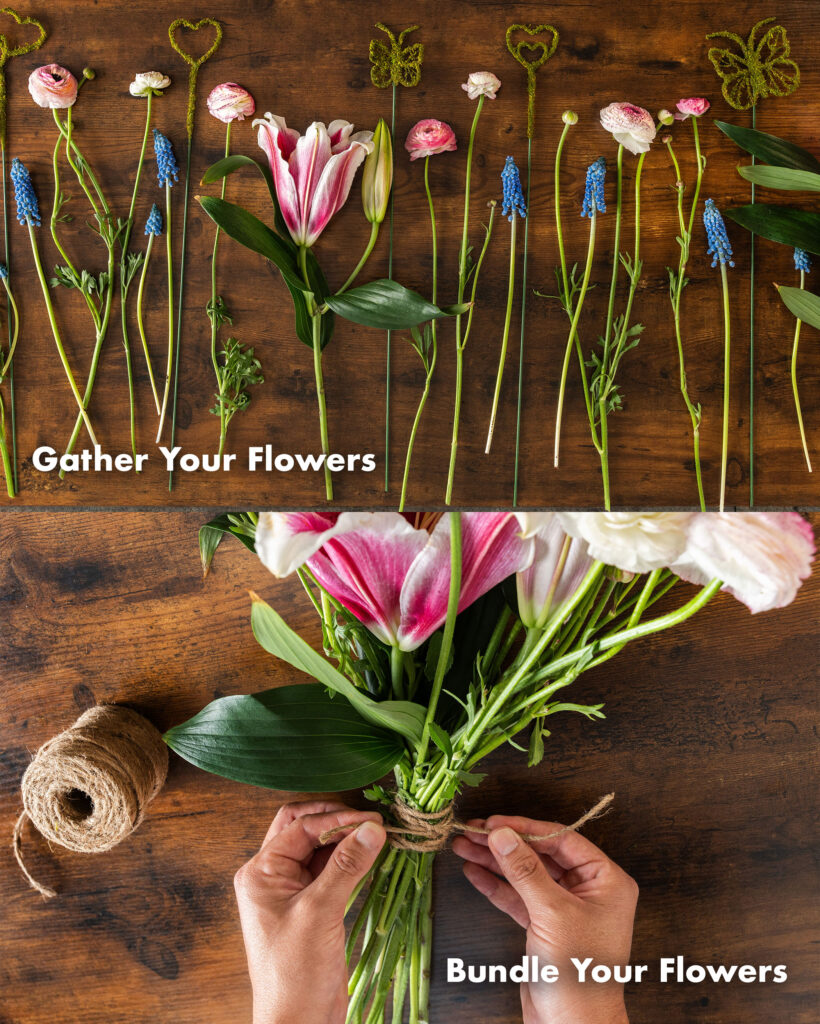
Choose Your Paper Style
Gather your flowers and select a wrapping paper that enhances your bouquet—after all, it’s just as much a part of the gift as the flowers themselves! A square of paper around 18” x 18” (45.72 x 45.72 cm) is a great starting point, but feel free to experiment with different sizes and textures. For a rustic touch, use plain brown craft paper, or go for something bold with patterned or sparkly designs to add a bit of glamour.
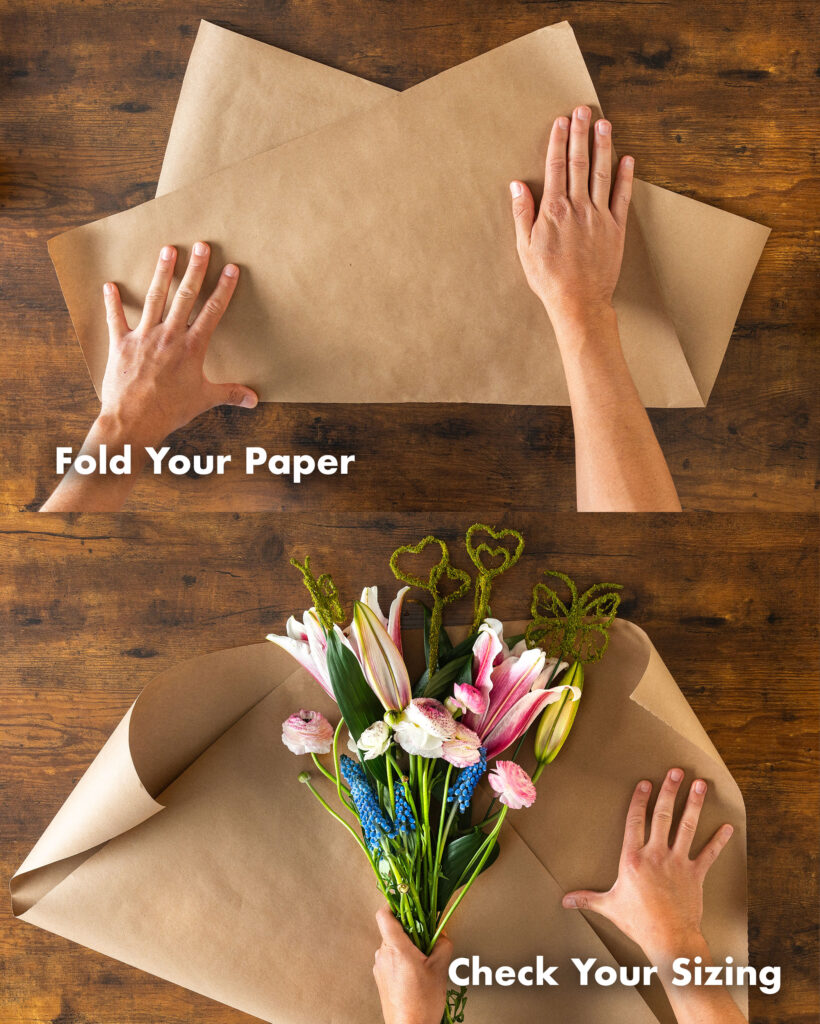
Fold It Like a Pro
Ready to fold? Lay your paper flat (printed side down), then fold it diagonally from one corner to the opposite corner, creating a triangle. Want to switch things up? Fold it at a quirky angle to reveal some of the plain side for an added textured look. The result will be overlapping triangles that give your bouquet a stylish, layered feel. Before moving on, double-check the size of the paper in relation to your flowers.
Add Moss and Color
Next, take your SuperMoss moss layer and place it with the moss side facing out. Add some extra color by layering in tissue or decorative paper, creating a vibrant base for your wrap. This step gives your bouquet an extra pop and a unique touch.

Wrap It Up
Place your flowers at the top point of the triangle-shaped paper. Then, fold one side of the paper over the blooms (left to right), and the other side (right to left), forming a snug cone around your bouquet. This wrapping method works for bouquets of all sizes, as the cone shape allows you to adjust how much of the flowers you want to show.
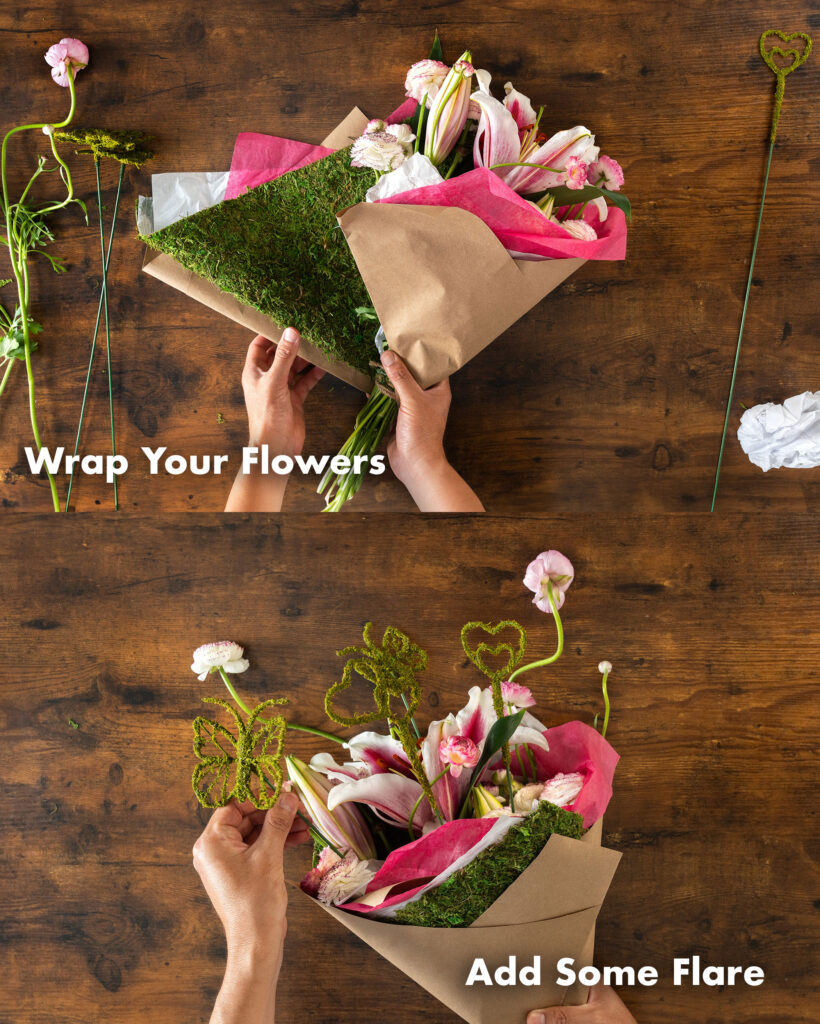
Seal with Style
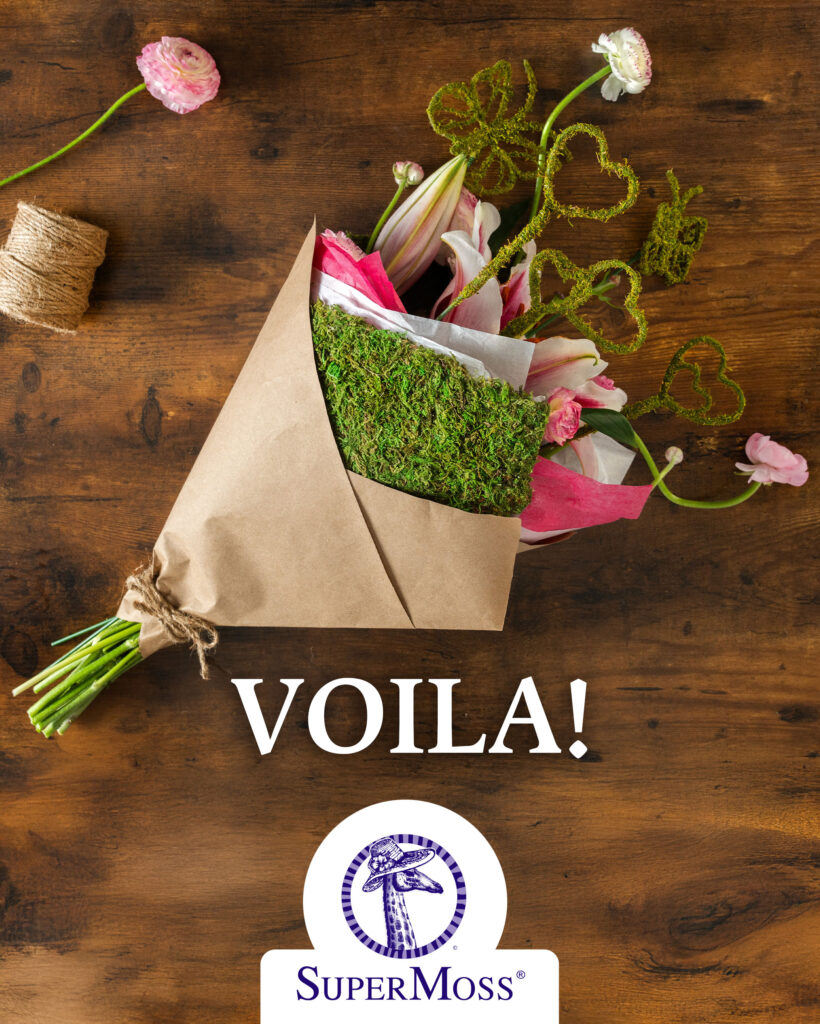
To keep your wrap secure, use clear double-sided tape to seal the folds, or opt for a rustic feel by stapling it together. If you’re fresh out of tape or a stapler, grab some twine or string to tie it all together. For the finishing touch, add SuperMoss Monarch and Heart Moss Picks for that extra bit of charm—your bouquet is now Pinterest-worthy!
Bonus: Individual Stem Wrapping
Want each flower to have its own moment? Wrap each stem individually! Cut small squares of craft paper or fabric just long enough to cover the stem. Roll it tightly from the corner, and tie it off with twine or ribbon. For tiny flowers, twist the paper into a mini cone, place the flower inside, and let it peek out from the narrow end.
And just like that, you have a bouquet that’s as stunning on the outside as it is on the inside! Happy wrapping! ????????